Set Up (Resource Manager)
Before you begin using Resource Manager, a Destiny Administrator must set up the district and site.
Set Up the District
- As a Destiny Administrator, select Setup > Sites sub-tab.
- Find the district row, and click
 .
. - To let users perform in-hand transfers, under Resource Management, select the Allow sites to receive resources by barcode scan checkbox.
- Under General Settings in the Customize User-Defined Alternate Site Type field, enter the alternate site type name. See Alternate Site Type (Resource Manager).
-
To configure Destiny to allow transfer requests from the district, select the Allow sites to make transfer requests checkbox. See Transfer Requests.
- When you are done, click Save.
Set Up a Site
|
Note: The Textbook Management section is for Textbook Manager only. Also, if the district has one or more Resource Manager sites with textbook resources, the Destiny Administrator cannot add Textbook Manager to a new or existing site. |
- As a Destiny Administrator, select Setup > Sites sub-tab.
- Find the site row that you want, and click .
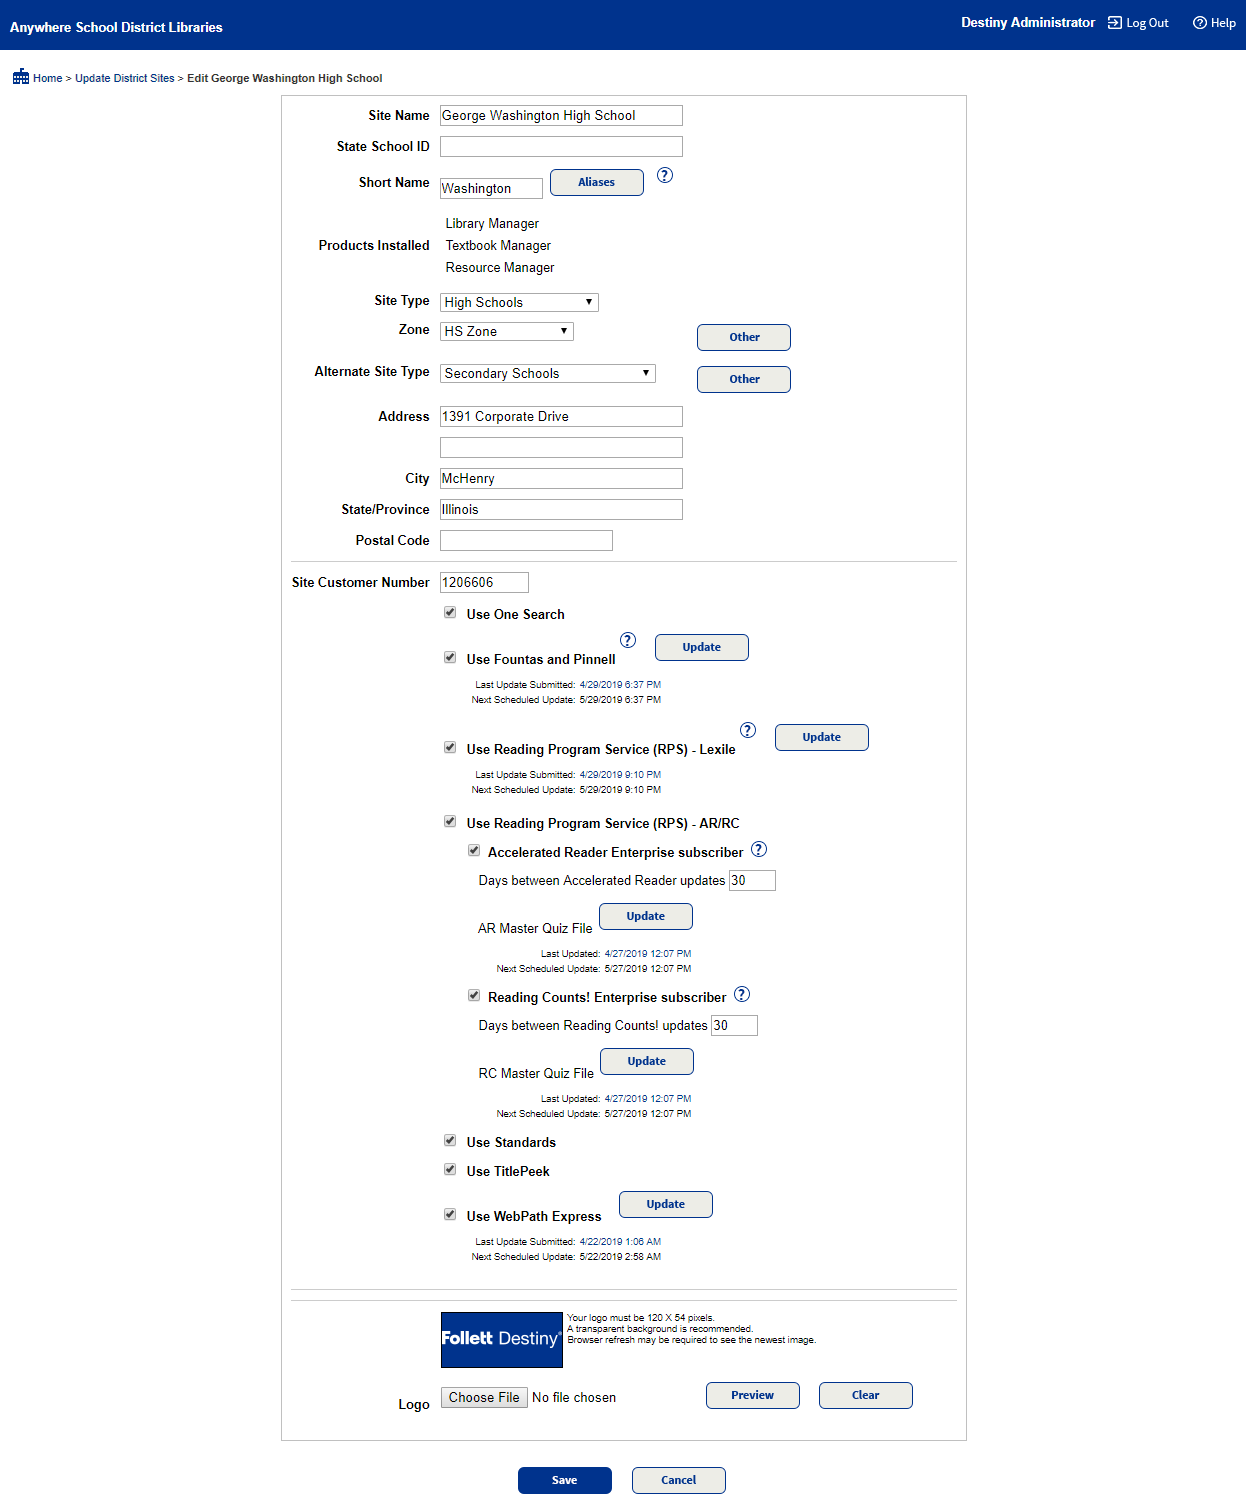
- Use the Alternate Site Type drop-down to select the appropriate site type. See Alternate Site Type (Resource Manager).
- Optional To add more alternate sites, click Other.
- Make other selections accordingly.
- Click Save.
Was this content helpful?
Overviews